If you’re looking for a quick and organized way to manage multiple remote desktop connections, RDCMan is a great tool to use. Follow the guide below to easily set up access to your VPS using this application.
Prerequisites
Make sure you have:
- RDCMan application downloaded and installed on your Windows PC. You can download it from Microsoft’s official site.
- Received service activation email with your service connection details.
How to use RDCMan?
1. Create a New Group
- Open RDCMan application.
- Click File → New.
- Choose a name for your connection group and save the
.rdgfile to your preferred location.

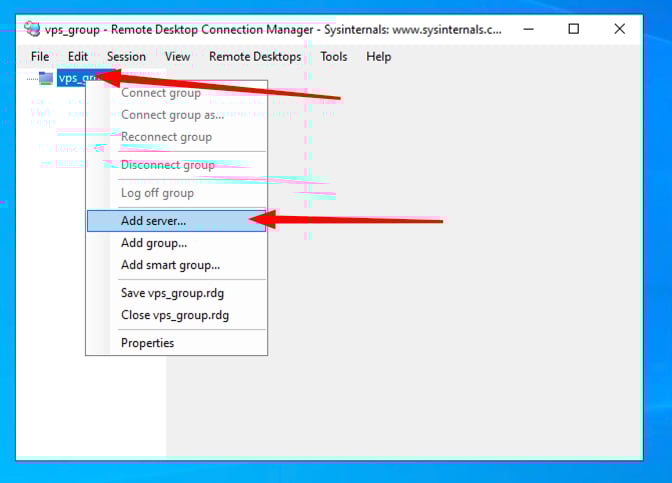
2. Add a New Server
In the left sidebar, right-click on the new group you just created and select Add server.
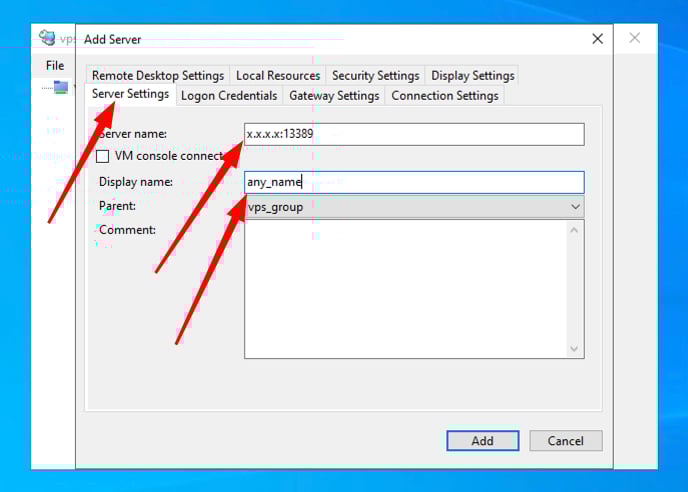
3. Configure Your Remote Desktop Settings
In the Server Settings tab, fill in the following fields:
- Server name – your server IP address from the activation email;
- Display name – any name you’d like (e.g., “My VPS”);
After that, go to the Logon Credentials tab:
- Untick the Inherit from parent checkbox;
- Enter Username from the service activation email;
- Enter Password from the service activation email;

Please note: This is the part where spaces in the username or password field can be accidentally pasted. Make sure that you carefully select and copy your credentials from the activation email and no spaces are being copied.
Then go to Display Settings tab:
- Untick the Inherit from parent checkbox;
- Change Docked RD resizing value to Reconnect with new resolution;
- Change Undocked RD resizing value to Reconnect with new resolution;

This will allow remote desktop interface to re-adjust automatically on window resizing.
Lastly, click Add to save your remote connection.
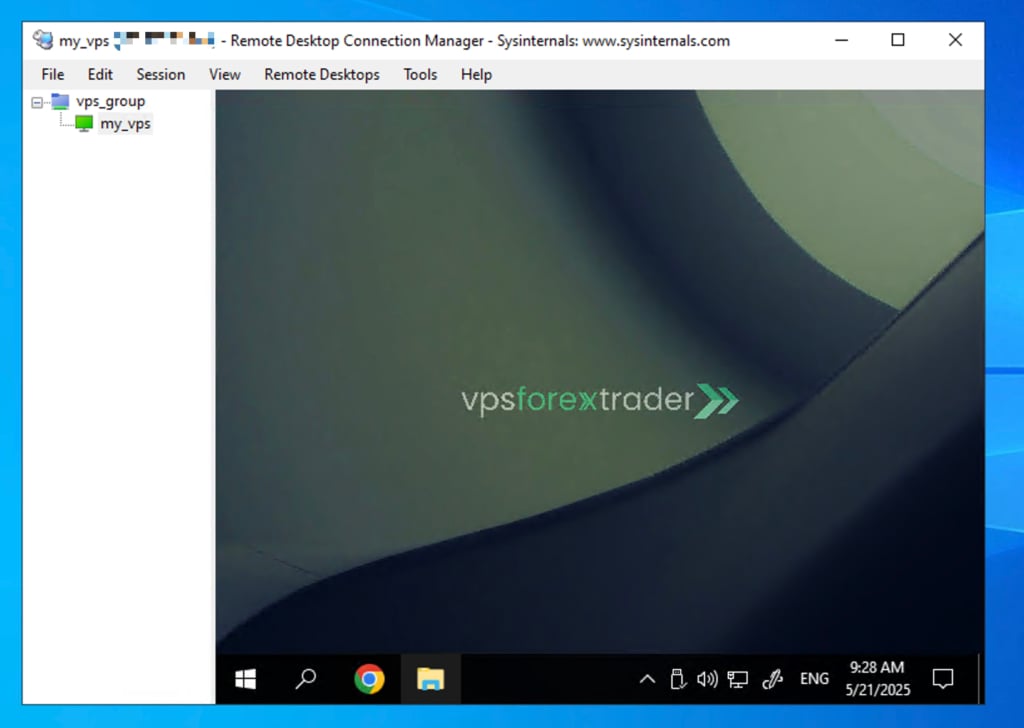
4. Connect to Your VPS
Simply double-click on the added remote desktop in the left-side menu to access your service.
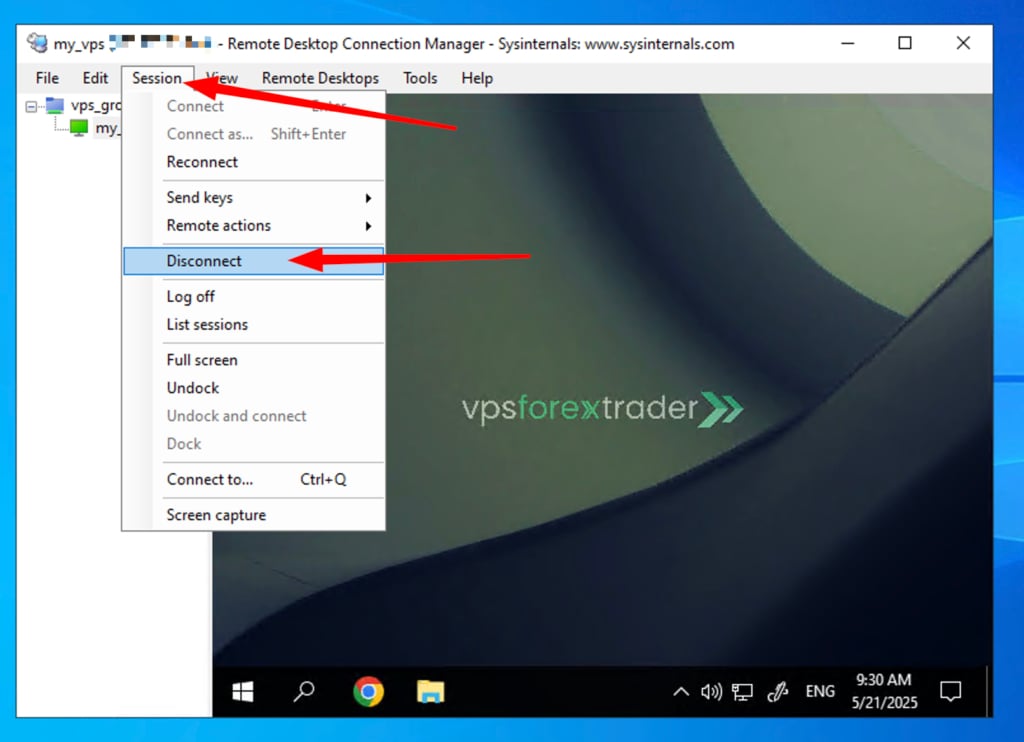
6. Disconnect When Done
If you wish to disconnect from your server, click Session and then Disconnect.
Undock remote desktop from main window
If you would undock the remote desktop window from the main application window, click Session and then select Undock:

If you encounter any difficulties or have any questions, please do not hesitate to contact our support team!